Prank your friends with the scary Spider Box!
It’s April, time for fooling others, let’s DIY a spider box and see your family and friends’ reactions to this little surprise gift.
Below are the main steps. We also prepared some tools that you may need to use. Please watch the tutorial video for making DIY scary spider box.
Step 1:

Step 2: Use a sander to smooth all the edges. Here we used the same tool as step 1 by switching the header. Also, don’t forget to pick a long piece to be the lid. We need to make the edges thinner so they can fit in the grooves later.

Step 3: Pick two long pieces of wood panel and use
the mini grinder to make the grooves. Don’t make it too big, or the panels
might be easily broken.

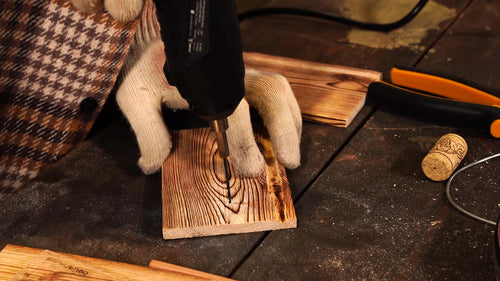
Step 4: Drill the holes in those two side panels
with grooves at the corresponding position. The holes are for the shaft!

Step 5: Drill the cork, cut the steel
wire into the needed length, and insert the wire into the cork.

Step 6: Now, attach the fake spider.

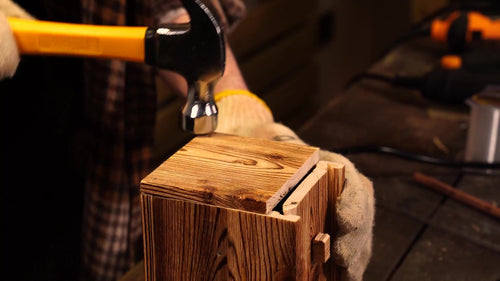
Step 7: Assemble the box with the
hammer and nails (or glue it)

Step 8. Tire the fishing wire on the
shaft, so when you pull the string, the shaft should be able to move.

Step 9: Use a nail to attach the handle
to the lid. Slide the lid in. Bind the string to the nail from inside.

Step 10: Check the size of the last
panel and fix the size. Nailed it!


